

Growing Up With Your Child – P1: Registering Your Baby's Birth
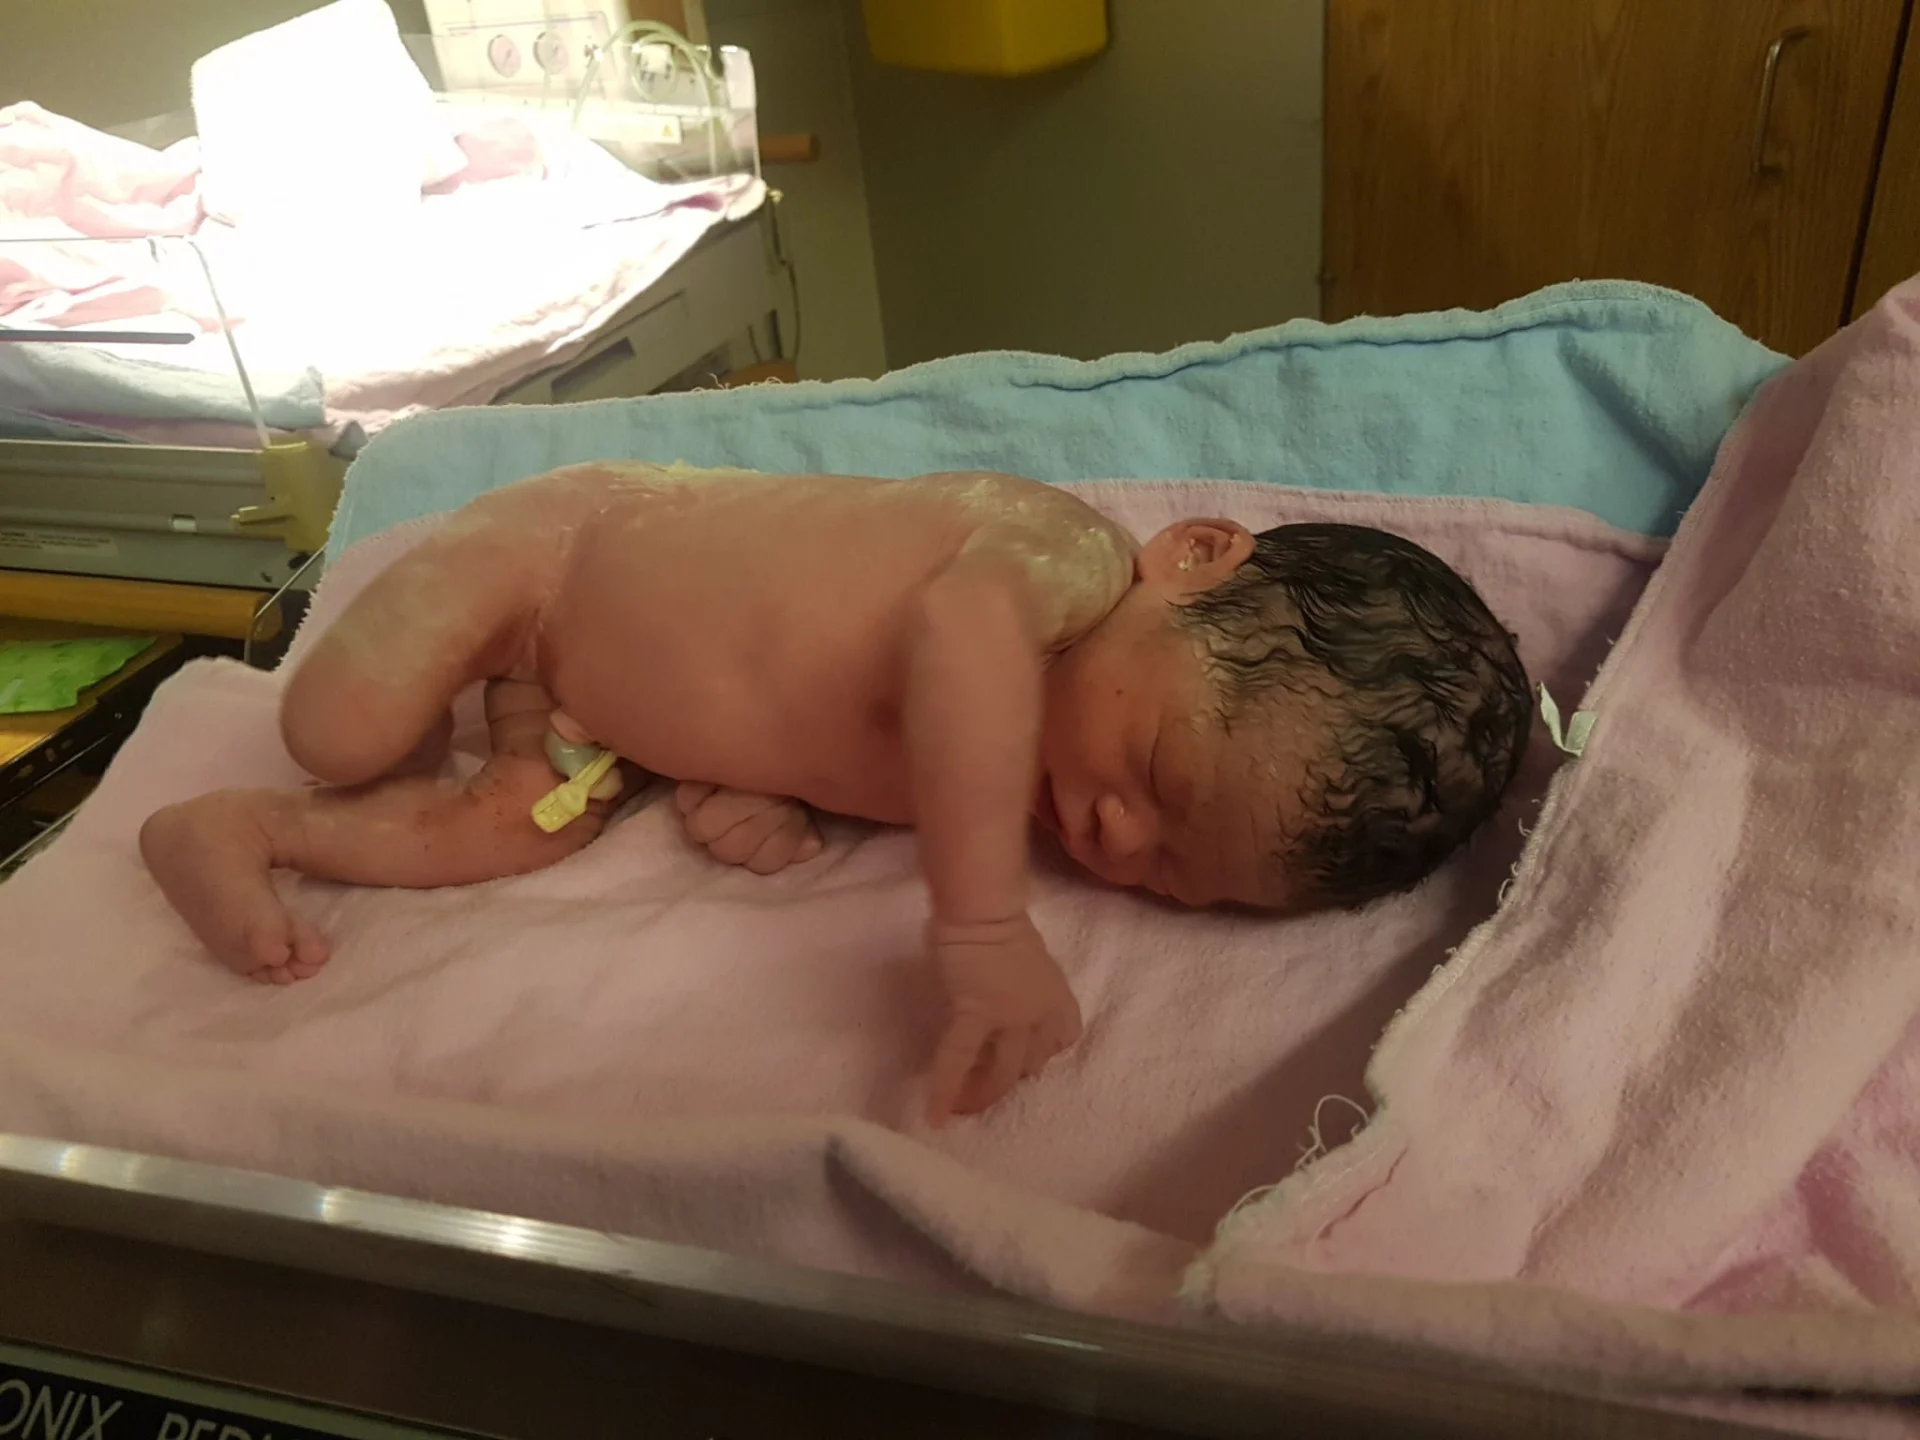
It has been a while since Annie’s mom has written another sharing note. Ever since giving birth, I have been completely swamped with diapers and milk >.< Once everything gradually got into a routine, Annie’s mom finally had time to share more experiences with my baby here in the Land of the Maple Leaf.
- Giving birth at the hospital
Before I went to the hospital to give birth, midwives came right to my home to monitor me. My water broke at 2 a.m., and I called Westend Midwives right away. Even though it was the middle of the night and I had to leave a message on the central line (because in Canada, personal phone numbers are very rarely given out), I received a call back from the midwives about 5-10 minutes later. After asking about my condition, they drove to my home in about 45 minutes. At home, they monitored my uterine contractions and the baby’s heart rate, and gave me IV fluids and antibiotics.
After about 2 hours, the contractions came faster and much more intensely than even the midwives expected. So they suggested either giving birth at home or calling an ambulance, because driving to the hospital might not make it in time. And so… Annie’s mom got to experience riding in an ambulance in a foreign country =]] Honestly, at that moment I was in excruciating pain; I only vaguely remember that both a fire truck & an ambulance arrived. People said something, signed some papers, then carried me onto the vehicle. I just closed my eyes and groaned — I did not even register the first snowfall landing on my face. And 10 minutes later, I was at Etobicoke hospital. Let us skip the painful labour part for now (it only lasted 30 minutes)…


After giving birth, I was moved to a ward room (a room with multiple beds), and Annie lay in a small bassinet placed right beside my bed. There, I only had to pay $800 for 2 days in the hospital (thanks to the support from the City of Toronto public service that I shared about in previous notes). And my baby and I were treated really kindly. Beside the bed there was a small button — just press it and a nurse would be there within 3 minutes. Anything I needed help with, such as going to the washroom for the first time after giving birth, changing the baby’s diaper, how to breastfeed the baby, etc., I could just press that magical button (nothing like the nurses in a certain paradise country over there — yelling at new mothers like yelling at children, right?) :”>
There, the nurses brought me 3 meals a day right to my bed, each meal fully nutritious, from the main dish and soup to dessert, tea, and juice. The baby was given free formula (necessary in case the mother does not have enough milk). The bottle nipples the hospital provides are very soft ♥ My advice is to ask for a few extra before you go home 🙂 As for the supplies you need for giving birth, you can prepare them yourself, or if you are missing anything, you can buy a package at the hospital for $25 including: disposable underwear for mom, pads for mom, Vaseline, diapers for the baby, and wet wipes for mom & baby.
On the second day, someone from the hospital came to my bed to note down the information needed to make the baby’s health card. They also gave me the necessary leaflets guiding me on how to register the baby’s birth, how to care for the baby, how to breastfeed, etc. The hospital also has breastfeeding classes (apparently held every day); each class has only a few people, so mothers are guided very attentively. You can ask a nurse for the class times.
During our time in the hospital, mother and baby were monitored very closely every few hours. After 2 days, if nothing was unusual, the whole family packed up and headed home, with the car seat carefully checked by a nurse as we walked out the door :”>
2. Registering the baby’s birth
Before you leave the hospital, the nurse will give you documents with all of the baby’s information (date and time of birth, weight, height, blood type, …). This is the information you will need when registering the baby’s birth. Registering a baby’s birth in Ontario is extremely simple. I just spent about 30 minutes on the website https://www.ontario.ca/page/register-birth-new-baby, filled in the information about the baby & mother, and that was it. This birth registration step is also called the “5-in-1 Newborn Bundle”, because it includes all 5 things: the birth certificate, a SIN number, the Canada Child Benefit, the Ontario Child Benefit, and a Registered Education Savings Plan (RESP). The baby’s birth documents will be mailed to your home within 6-8 weeks after that. For detailed step-by-step birth registration instructions, you can refer to the guide here: https://stepstojustice.ca/questions/family-law/how-do-i-register-my-babys-birth-ontario
As for the baby’s health card, the nurse at the hospital filled out the application for me, so I did not need to do anything more. About 1 week after the birth, the health card was mailed to our home. While waiting for the health card to arrive, I could still use a small temporary paper issued by the hospital to take the baby to medical appointments when needed. In Canada, all children under 18 receive completely free medical care, including medication for the baby.

Another really nice thing: the health card that arrived had the baby’s date of birth wrong (it is not clear whether the nurse recorded the wrong date or the card-printing staff made the mistake), but I only needed one phone call to Service Ontario and they issued me a new card by mail. Quick & it did not cost a cent 🙂
That is all for now. In the next notes, Annie’s mom will continue sharing experiences from raising my baby here in the Land of the Maple Leaf ♥
Related Articles
Valuable Lessons I Learned From My Divorce in Alberta, Canada
My divorce in Alberta made me realize there are many things you only understand once you have been through them: from assets that are easy to overlook, to choosing a lawyer, to the emotional toll on both mother and children. These are the lessons I drew from my own experience, and I hope they help you feel a little less overwhelmed if you are going through this stage too.

The Child Support Order Process – Part 2: Support Organizations
This article is Part 2 in the series on the process of applying for a Child Support Order, focusing on the support organizations in Alberta. I share my personal experience as a low-income parent, from applying to Alberta Legal Aid to organizations such as the Women's Centre of Calgary, the Alberta Family Resolution Hub, and the Child Support Resolution Program (CSRP). The article walks through each step in detail, from submitting an application, file assessment and advice, to mediation, reaching an agreement, or preparing for court. This is a useful guide for anyone looking to resolve a child support dispute without their own lawyer, or who wants to clearly understand the support options available.

The Child Support Order Process – Part 1: What Is Child Support?
I started writing this article while I was preparing my own application for child support in Calgary, Alberta. After months of figuring out a rather complicated process on my own, I want to record the whole experience to help anyone in a similar situation. In this series, I will clearly explain what child support is, the common misunderstandings, how it is calculated under Canadian rules, and the practical things to know when filing in Alberta. I hope this sharing will help moms (and dads too) find clearer direction on their journey to protect their children's rights.